Date: August 27, 2019
Why a new composting system?
In my 15 years working as a composting trainer, adviser, and researcher, I have met so many people who face the same issues with their composting. It’s a smelly heavy mess, they don’t know what is happening inside the pile, and it just isn’t easy enough to use.
The problem for most people, of course, is the type of compost bin they use – either a “Dalek” shape garden composting bin
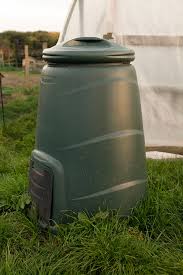
Image credit: https://www.rattandirect.co.uk/
or the compost tumbler type that has become popular recently in Ireland and perhaps other countries also.

Photo credit: Dave Beckers
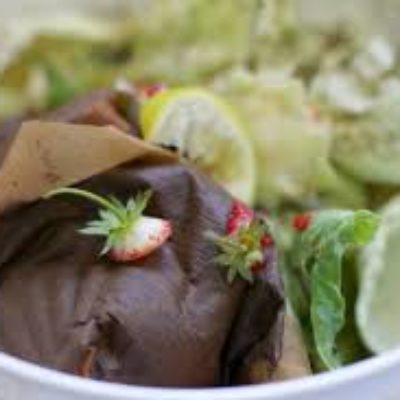
These bins and tumblers do not permit quick or easy composting of the kitchen waste which is our main organic waste issue. They get full, wet, and heavy with smelly rotting food.
A much better solution is a wormery, but even these have their issues. They are often made of plastic and do not breathe or allow moisture to escape. The trays can become heavy and compacted (though not, of course, if operated very well). And if something goes wrong, the worms can be killed, although this is unusual.

Photo credit: Dave Beckers
I decided to make it possible to have effective composting in a small space, by dividing the material into fresh, semi-fresh, maturing, and matured, while making space for airflow and drainage and preventing compaction.
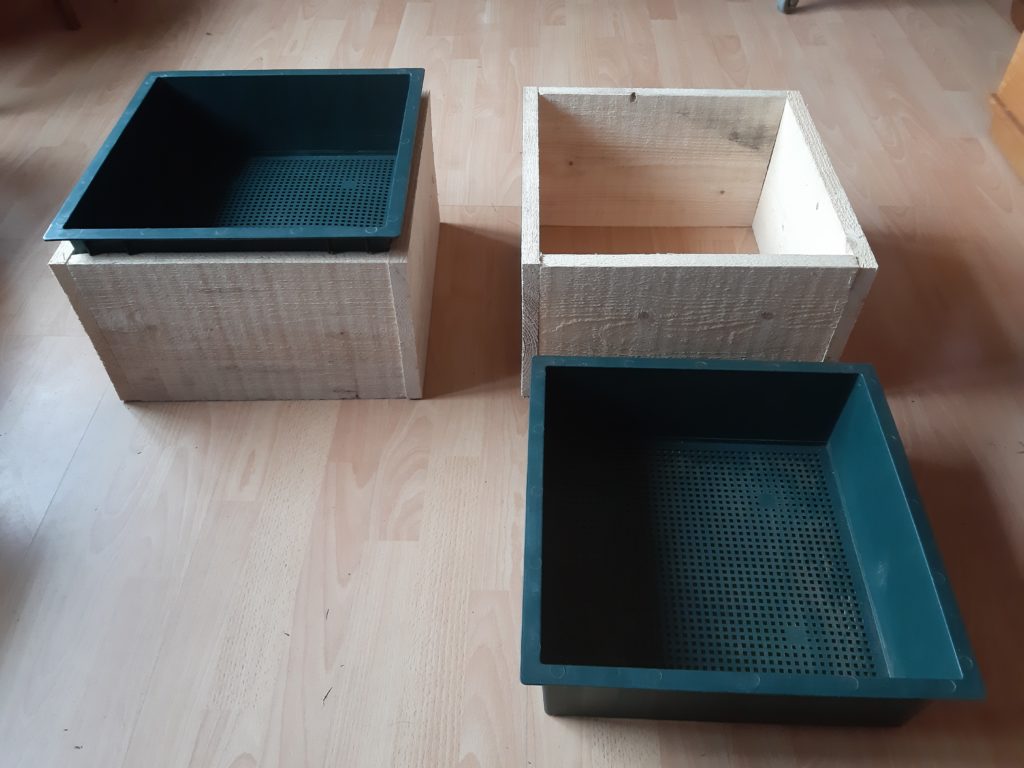
This system will allow easy management of all stages of the composting process. Every part should be light and easy to lift, and if something goes wrong it is easy to isolate and fix the problem (usually a matter of (1) chopping up food waste material into smaller pieces and (2) adding more brown material such as sawdust, leaf mould etc.).
And that’s it really! A minimum of 2 boxes and trays needed, perhaps 3 or more for a larger output of kitchen waste or pet poo.
Update: I have found for larger volumes of waste that an excellent option is to create a double height system by setting two boxes on top of another two.
Date: August 19, 2019
Building the perfect composting beast (Part 1)
Composting, whether hot or cold, consists of different stages of biological activity. In a large compost bin where new material is being added all the time, there can be a very mixed array of conditions within the bin. A large bin can also retain huge amounts of moisture from waste grass, fruit and vegetables, giving rise to smelly and swampy composting.
A satisfactory solution, as I see it, is to divide the materials into different stages of biological activity, which is to say different ages of composting.
Fresh material, when added to the composting system, is high in food for bacteria but also for flies, wasps etc. It rapidly changes form and turns to sludge, while still smelling like the material that it was (onion smells like onion, grass smells like grass and so on).
When a “green” composting material such as food or grass turns to sludge, the high moisture levels mean not enough oxygen for beneficial composting bacteria to survive. The sludge turns anaerobic, and starts to putrefy and smell rather odd…
The best way to avoid this is to ensure that all green materials are broken up into small pieces, and then mixed thoroughly with brown materials. As well, air space should be introduced wherever possible amongst the decomposing material.
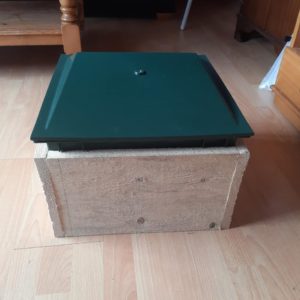
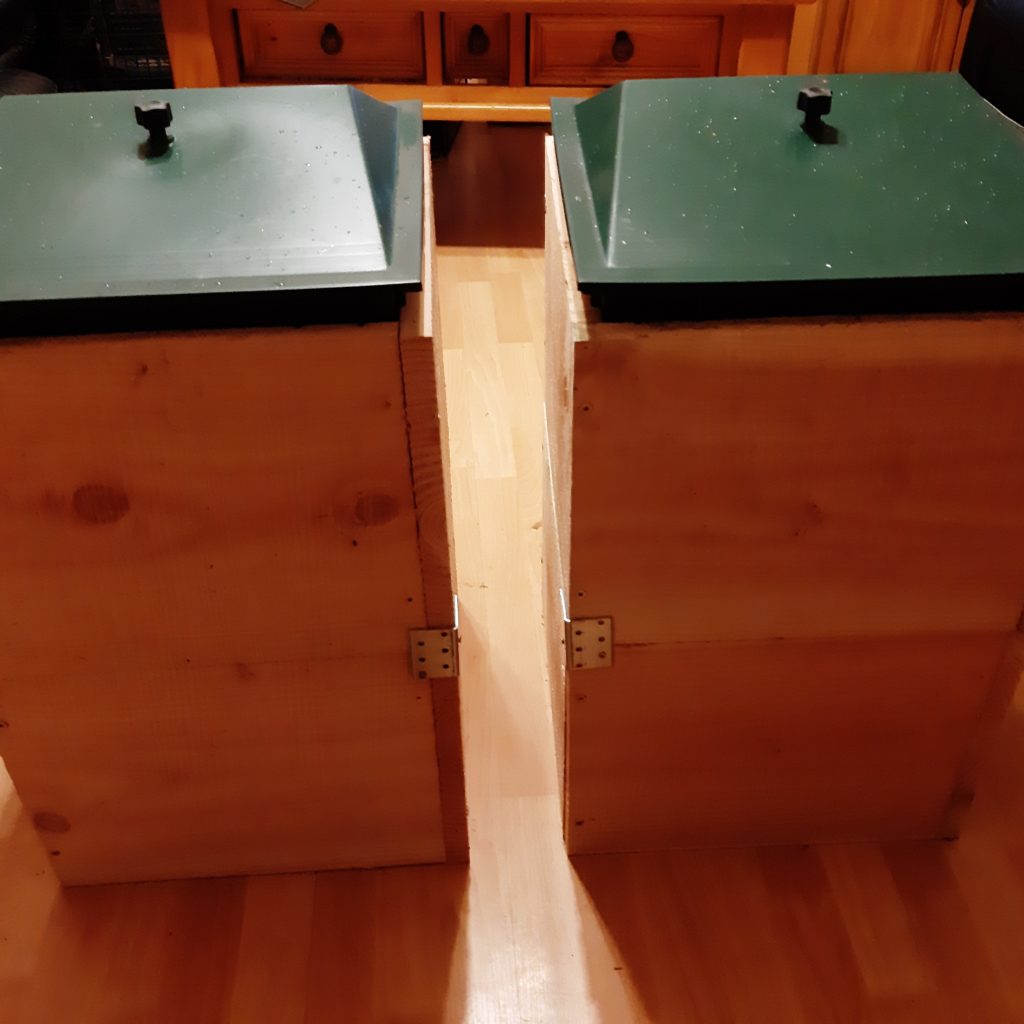
The picture above is a prototype for a new design of composting system. It is loosely based on the milk crate composter system, which in turn derives from the terracotta pot system developed, as far as I know, in India. I won’t get into explaining those here, but do please look them up if you are interested.
The new composting system (working name “The Magic Box Composter”) can compost pet waste or fruit and veg waste from your kitchen. If you want to compost dog or cat faeces, that’s absolutely fine, but be aware of what you’re dealing with. These faeces contain pathogens which will not be killed off by a slow/cold composting process. Therefore, you should not use the resulting compost in areas where people or pets will be active, or for growing food plants in. But you should still be able to make fine compost, which will benefit the plants in your garden, as well as providing a solution your pet waste issue.
Date: August 19, 2019
Building the perfect composting beast (Part 2)
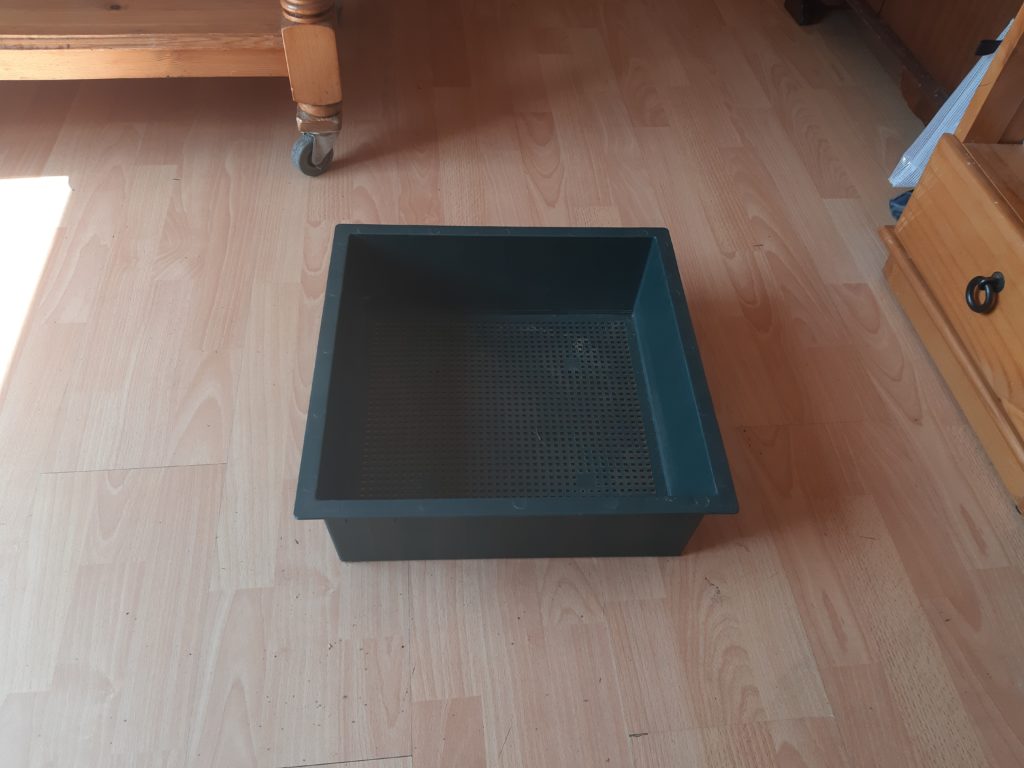
The working Magic Box (working title!) will consist, depending on volume of materials, of 2 or more of these boxes with inserted trays.
- How it will work:
- Site the 2 or more of these boxes ie by side, with a tray in each one and a lid on top.
- Use the clips provided to prevent the lids from blowing away, if using outside.
- The tray will be your receptacle for green and brown materials.
- Green materials are food waste, such as fruit and veg peelings and leftovers, plate scrapings, other waste food (beware of meat, fish, and dairy – they will compost but are more likely to cause smells and flies, so the management should be extra stringent).
- Pet waste such as dog and cat poo is also a green material.
- Brown materials are fibre rich such as shredded cardboard and paper, sawdust, leaf mould, shredded straw, hay etc.
- Animal bedding or biodegradable cat litter will contribute to your brown materials also.
Method:
- Spread a generous layer of brown material on the floor of the tray.
- Chop any food waste into smaller pieces, if possible.
- Some tougher items such as avocado skin and seeds simply will not compost for a very long time, and you can choose to leave these out if you wish.
- Add the green material to the tray, spreading it out if there is a large amount of it.
- Add more brown material on top.
- Ensure at least 50% brown materials at all times – that means, if you put in a tub full of kitchen waste, you should make sure that there is at least a tub full of brown material added before and after the kitchen waste.
- Sprinkle the mix with water using a watering can, and replace the lid.
- Continue these steps until the tray is 3/4 full.
- If you are going to fill a tray in less than a couple of weeks or so, you will need more than 2 boxes to make this system work properly.
- When the tray is 3/4 full, you can place a sheet of damp newspaper on top of the material if you like, just to create a barrier against smells and flies, and leave the lid on it.
- Then spread a layer of brown material on the floor of the next tray, and start filling that in the same way.
- If you are using 2 boxes, continue until the second tray is 3/4 full.
- Then lift out the first (older) tray and tip its contents into the box.

- Set the empty tray aside, and tip the contents of the second tray on top of the first.
- Then replace the 2 empty trays, and repeat the whole process of filling with browns and greens.
- If you are using more than 2 boxes, the same method applies – simply fill all the trays to around 3/4 ways, then tip them all into the first box, in the order that you filled them.
- If you have chopped up all food waste and mixed in enough brown material, there should be little or no sludgy texture or unpleasant smells.
- If you think it is too wet, you can add less water in future.
- If you think it is too dry, or is slow in starting to decompose, you can sprinkle more water to the material that you have placed in the box.
What you have done is to allow the initial stage of the composting process to take place in the trays. The green material should be beginning to break down nicely through bacterial action, while the brown material provides physical structure, fibre, and carbon to help the process. When the material is placed in the box it can enter a more mature stage of composting, and be ready for use when you need to remove it.
- Next, start the whole process again with your empty trays back in place.
- When you remove the trays, you will find that the older material in the box has greatly reduced in volume from the composting process.
- When the trays have filled this time, you can either add them to the first box again (if you think that there is room enough) or start to add them to the second box.
- Do not fill a box too much – remember to leave enough room in the box that the tray can sit down into it and rest on the sides of the box.
Harvesting the compost:
- When all your boxes have been filled, you can empty the box that you filled first, or you can fill up the trays again if you want to allow the compost more time to mature.
- When you are ready to empty a box, simply lift the whole box off and set it aside.
- Your compost should be ready for harvesting and using. Shovel it into a bucket or bags, and replace the empty box back into position.
- Using this method, you should always have space for new material, assuming that you are using enough boxes and trays for your needs.


